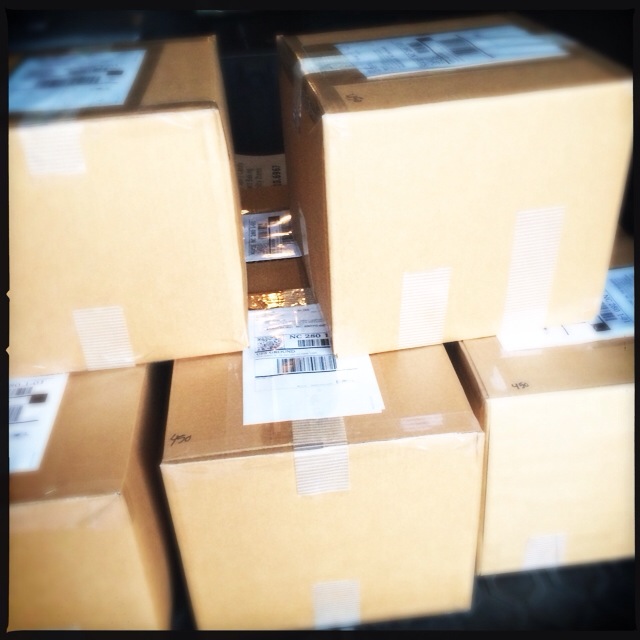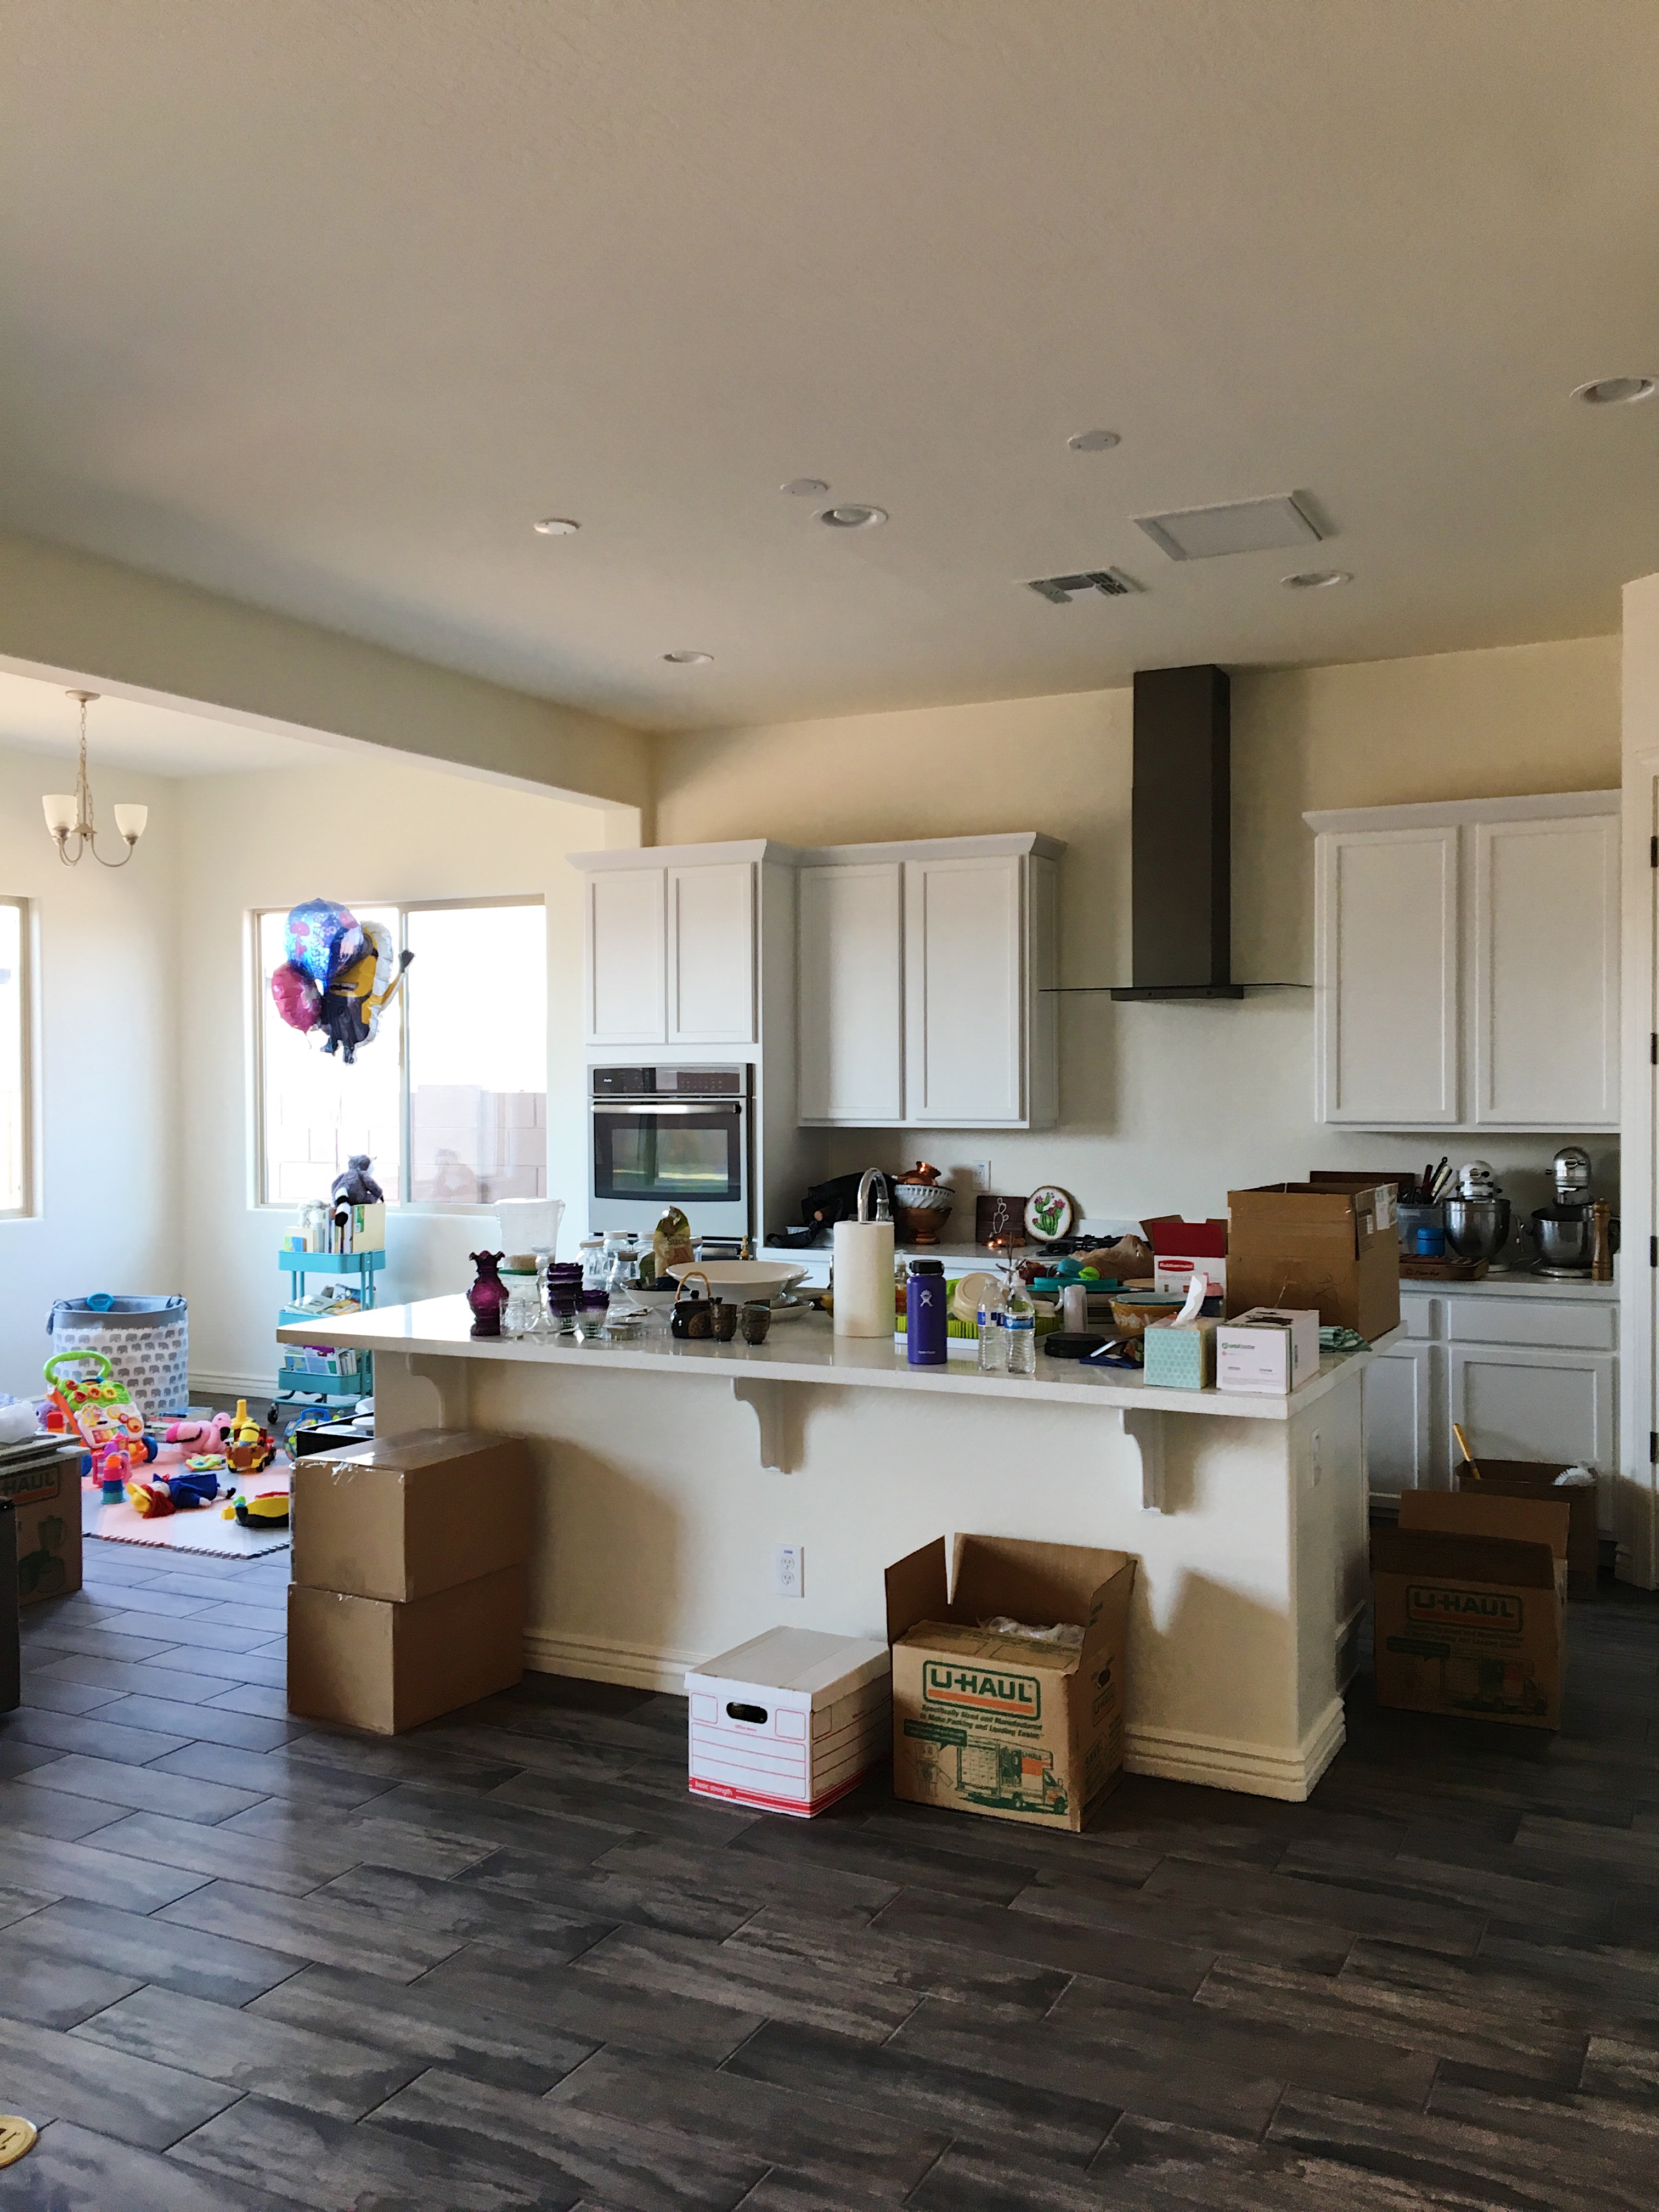
I am working on a post about our new house, I promise. We are unfortunately still drowning in boxes. Some things are easier to unpack, while others it takes a little living in the house to find their spot. Also, have you ever tried to unpack boxes with a teething, crawling one-year old, who only wants mama to hold her? It should be an olympic sport.

Today I am waiting around the house for an oven repair person that the superintendent of the job site supposedly called. I’m not holding my breathe after I texted him this morning to inquire what time frame they may show up in, and he told me to let him know if they don’t show up because they notoriously won’t show up for appointments. ::eye roll:: To say I’m annoyed would be an understatement. I’ve talked with a couple other neighbors, and apparently they have had the same problem, plus the superintendent himself told me they have been having this problem. A brand new house, and no oven for the first month of living in it. Absurd.
Yesterday was a blah day for us all around the house. I don’t know if it’s all the boxes or just the stormy day, but we didn’t want to do much. Usually I would bake, but oven woes prevented that, so I concocted instead.
I tried to create these protein balls last week, and they didn’t turn out the way I wanted. They were way too crumbly, need a little kick up to the sweetness…they just needed more. I went back to the drawing board. I’m happy to say the modifications I made yesterday were a winner, though I’m already planning another version in my head.

These are great for anyone trying to watch what they are eating and want a little sweet treat, but also they are fantastic for nursing mamas. I have tasted some of the lactation treats for nursing mamas…disgusting (for those not in the know, oats are great for helping you make milk, and yes we worry about these things, because we basically worry about everything now that we are moms).

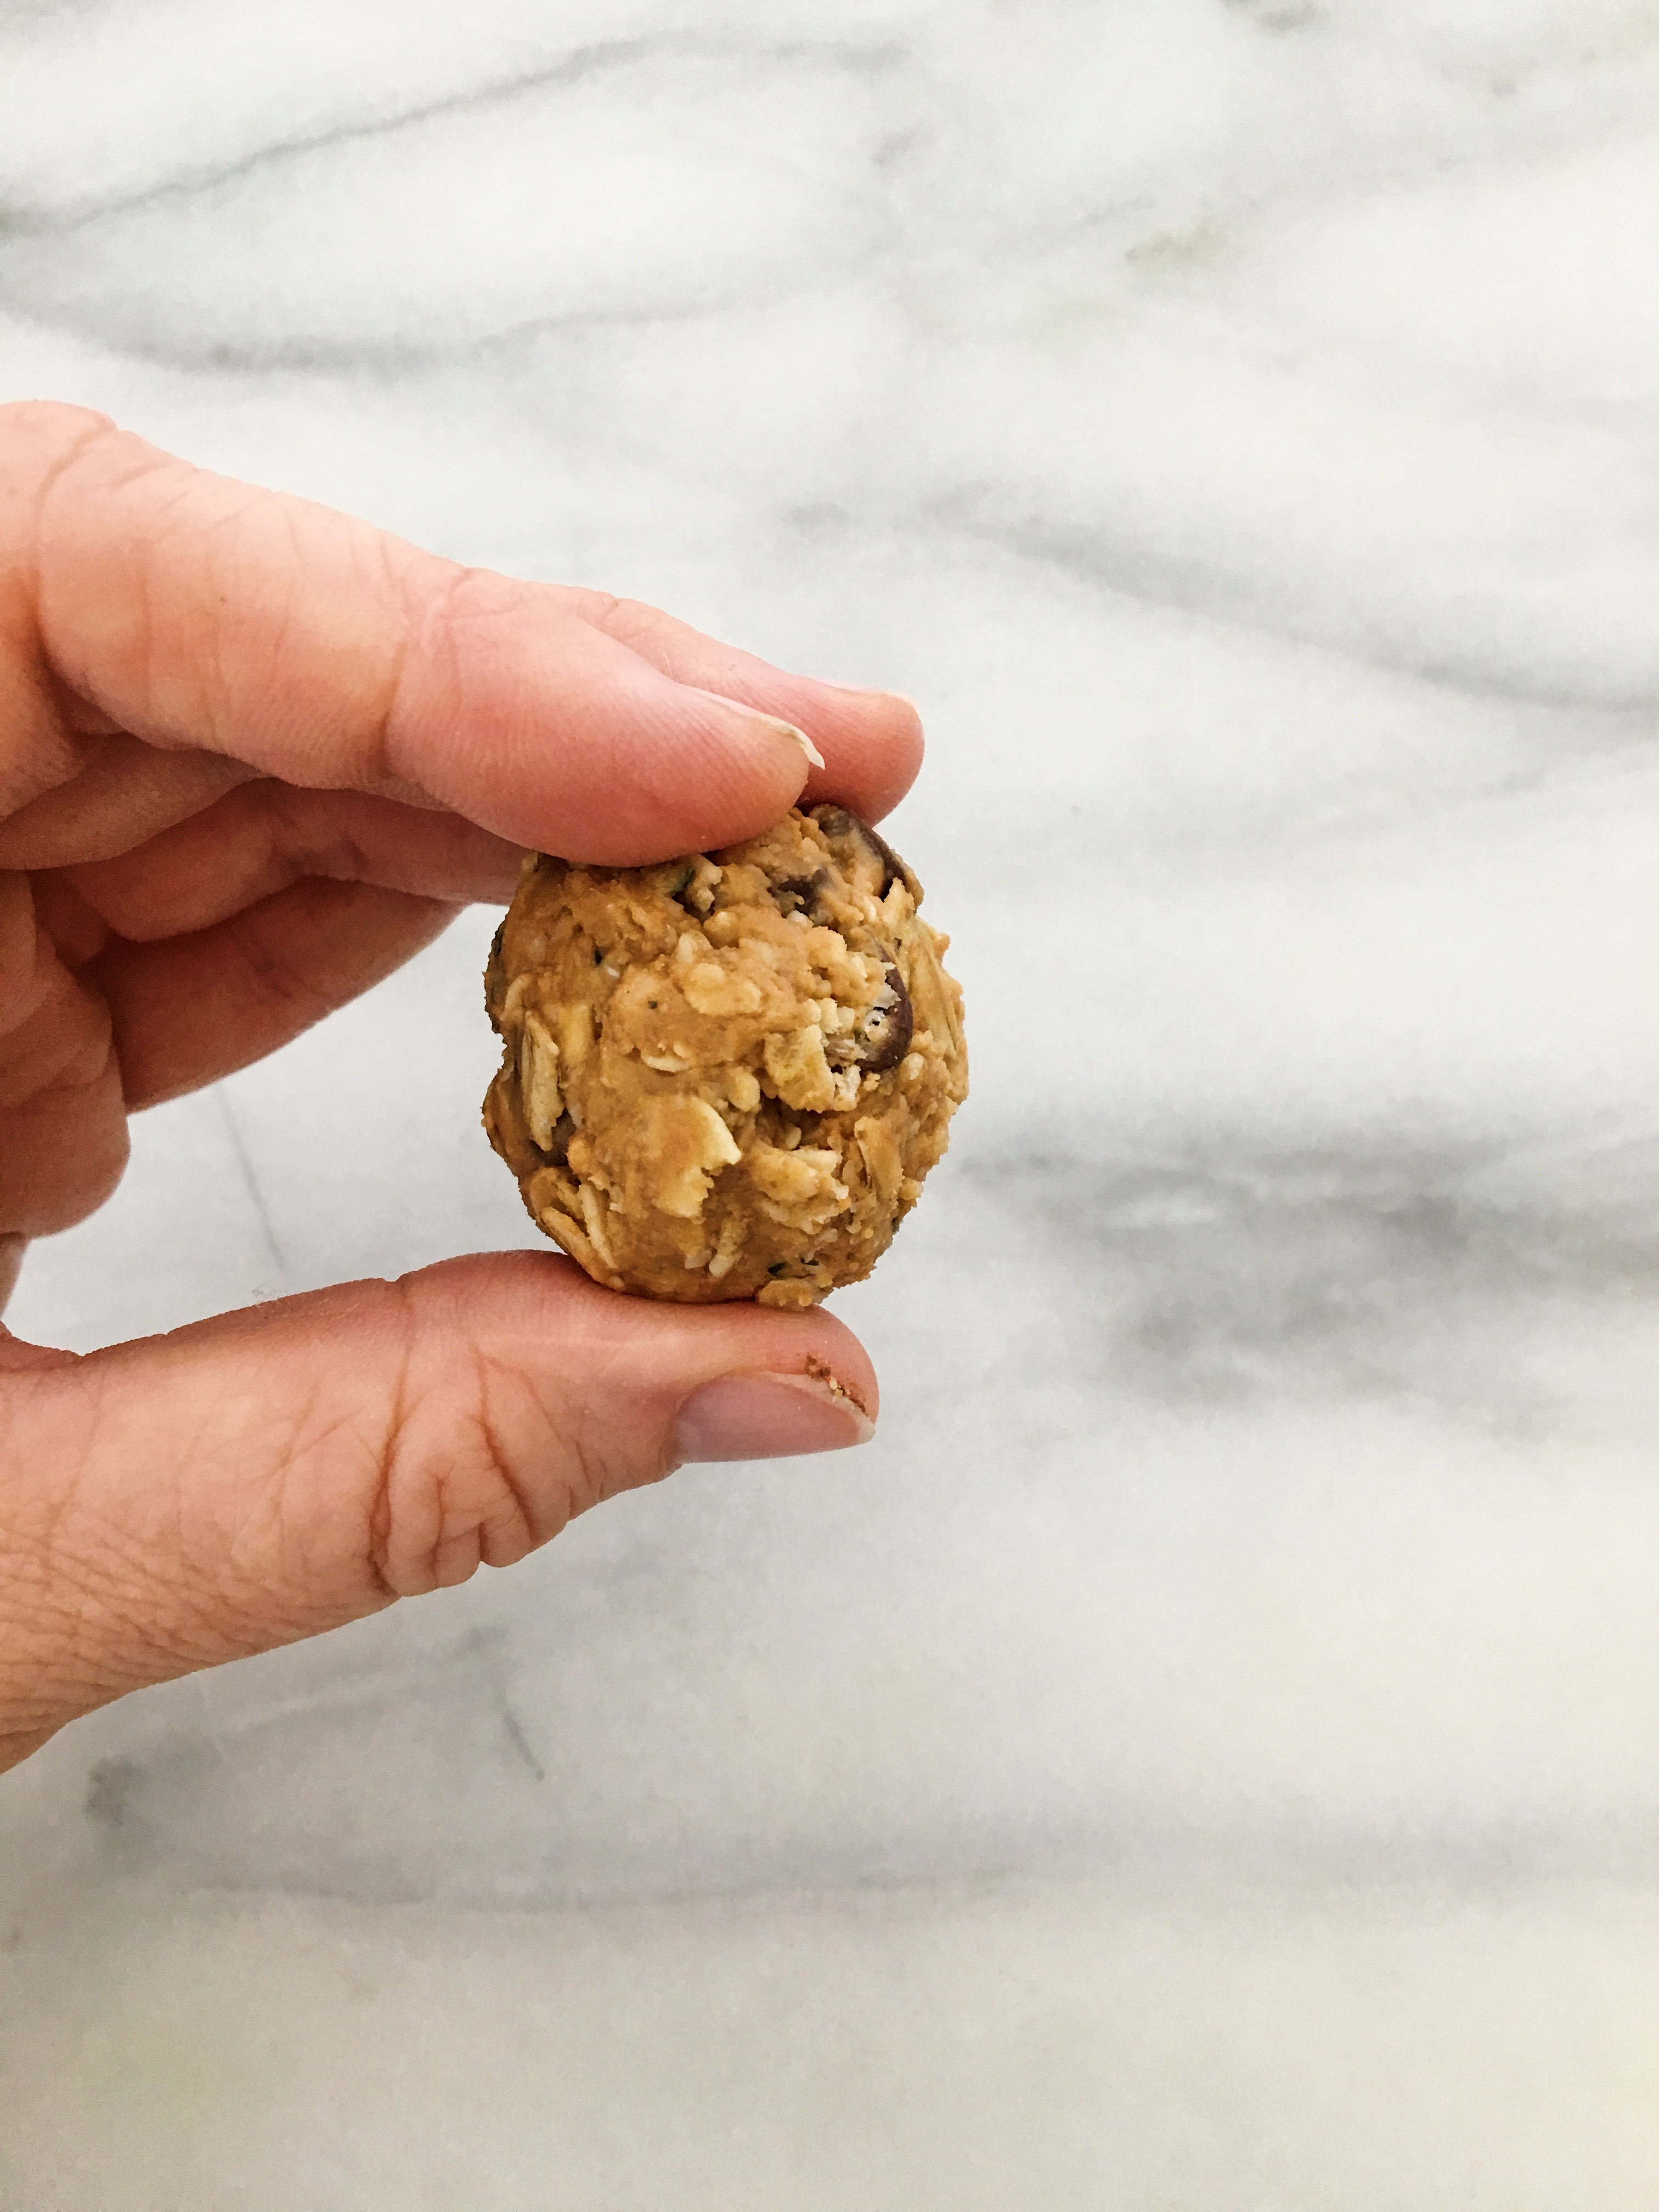
Oat protein balls (a horrible name, I agree) are a perfect treat for anyone. Mr. PC took them with him to work this morning and now I have 1 left. Bummer. Time to make another version, and unpack some more boxes.
| Prep Time | 10 minutes |
| Passive Time | 2-3 hours |
| Servings |
pieces
|
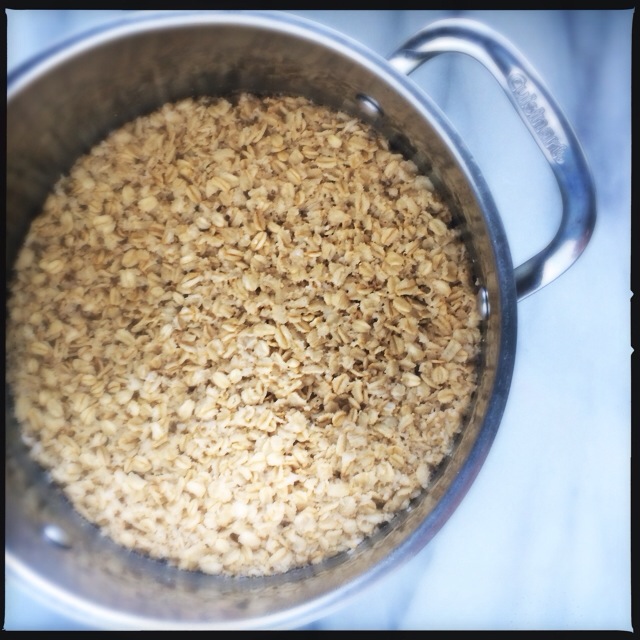
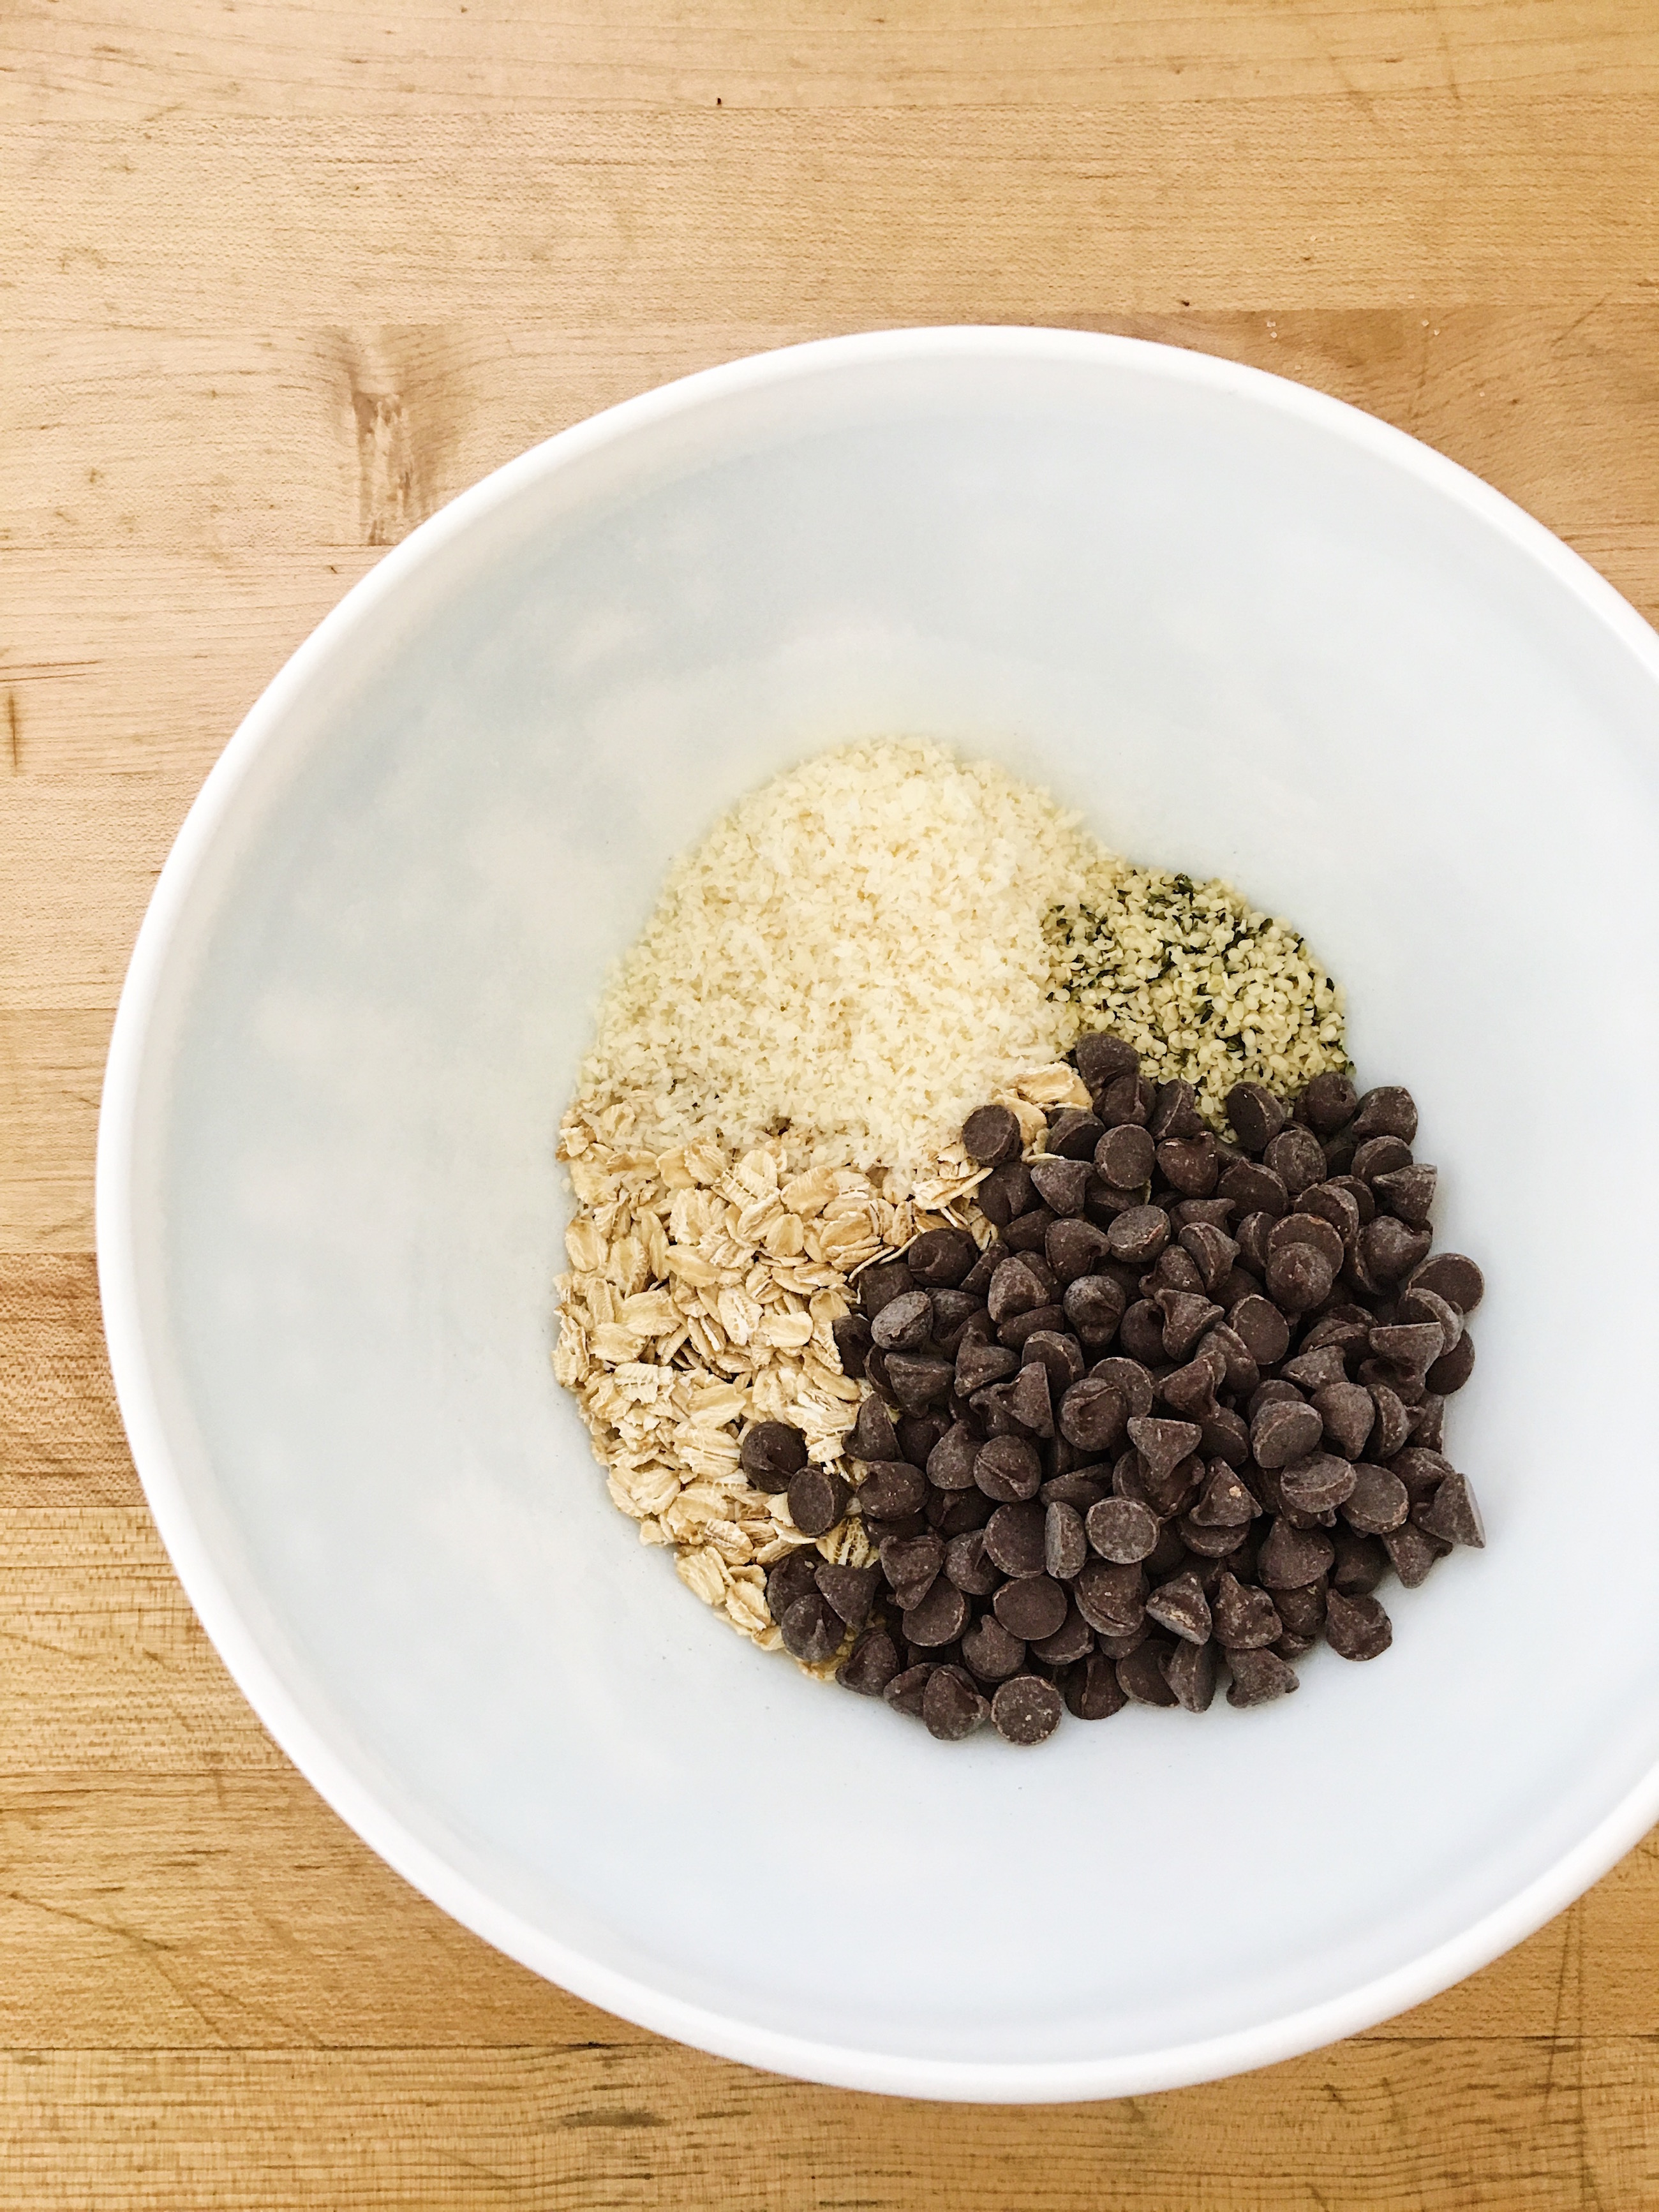
- 3/4 Cup Oats Whole, Rolled (not instant)
- 1 TBSP Hemp Seeds
- 1/4 Cup Coconut Flaked, Unsweetened
- 1/2 Cup Semi Sweet or Dark Chocolate Chips
- 1/2 Cup Peanut Butter
- 1 TBSP Maple Syrup
Ingredients
|
|
- Grease a baking dish or pan.
- Combine all the dry ingredients in a bowl.
- Mix to evenly distribute.
- Add wet ingredients and mix until combine.
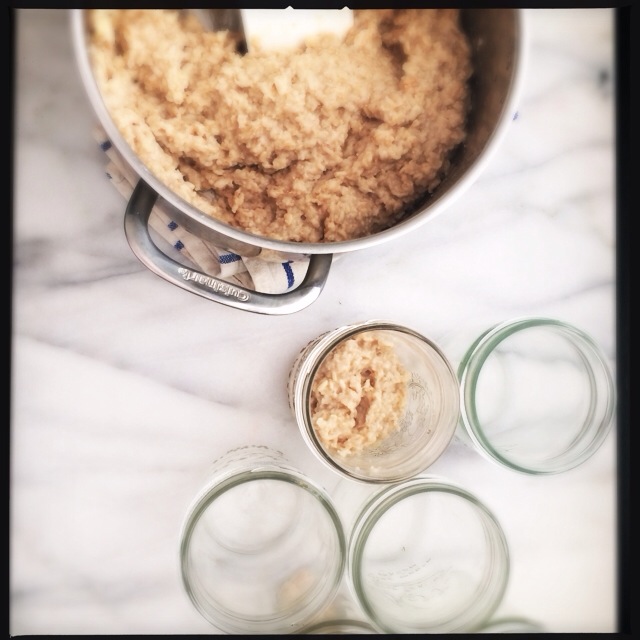
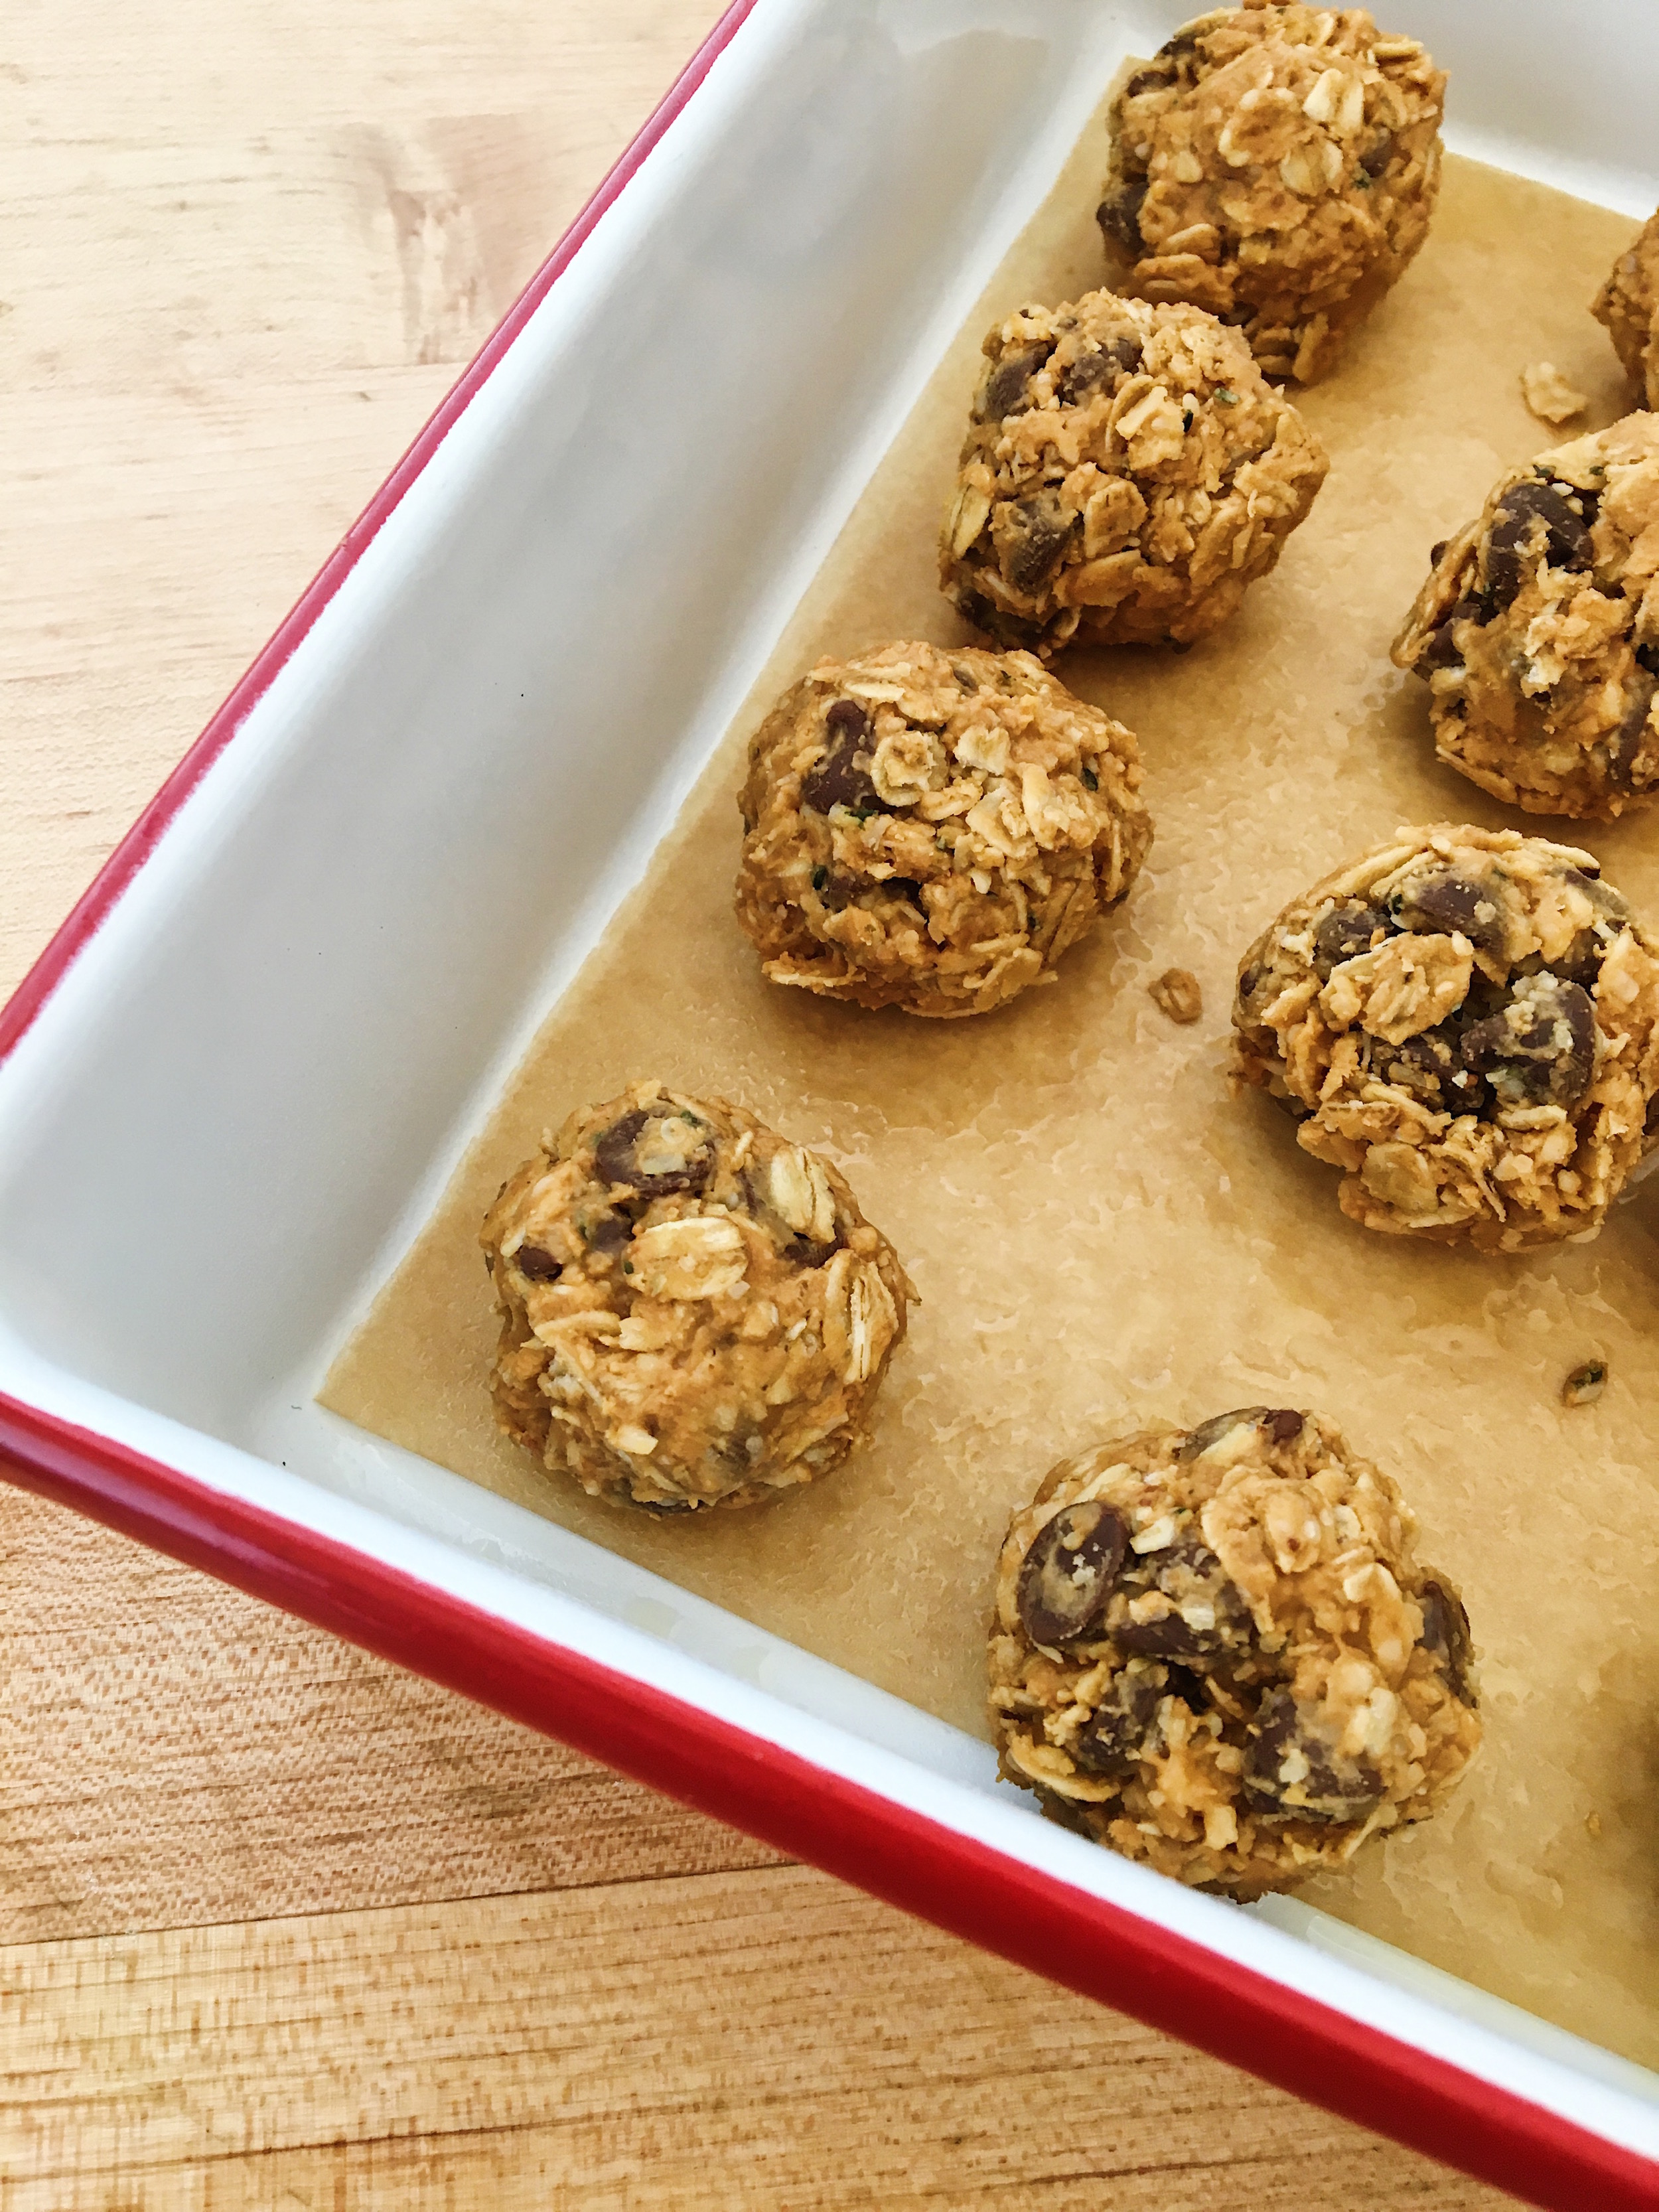
- Scoop with ice cream scoop or TBSP to portion evenly, then roll with your hands. Place in the baking pan and place in the refrigerator for a few hours until firm.
- Store in an airtight container in the refrigerator. Let me know how long they last. In our house, they last about 24 hours.
Just a couple notes for you!
- I used a dark roasted peanut butter and I love the depth of flavor it adds, but feel free to use what you have and/or what you like.
- Guittard are my favorite chocolate chips, and you can now find them at Fry's and Sprouts.
- Don't feel like you have to use the same add-in's that I used. I love hemp seeds because they are a great plant based protein. We use them daily in our smoothies. If you don't want to invest in a package of them for this recipe, sub in something else. Chopped or ground nuts perhaps or flaxseed meal.
- If you are concerned about the digestibility of raw oats, you can always sub sprouted oats. I have also toasted the oats in the oven for 8-10 minutes at 325 (this doesn't really assist in digestibility, it's more to enhance flavor). For my purpose of this snack, to support lactation, raw oats seem to work better for me.
Pistol Whipped Pastry Instagram | Croissant In The City Instagram | Pistol Whipped Pastry Facebook | Croissant In The City Facebook